

How to install an L Type Monoblock Plug?
Leave a message

As a trusted supplier of L Type Monoblock Plugs, I understand the importance of a seamless installation process. In this blog, I'll guide you through the steps of installing an L Type Monoblock Plug, ensuring that you can use your electrical devices safely and efficiently.
Understanding the L Type Monoblock Plug
Before we dive into the installation process, let's take a moment to understand what an L Type Monoblock Plug is. The L Type Monoblock Plug is a popular electrical plug used in many regions. It is designed to provide a secure and reliable connection between your electrical device and the power source. The "L Type" refers to its unique shape, which is characterized by a distinct design that allows for easy identification and proper insertion into the socket.
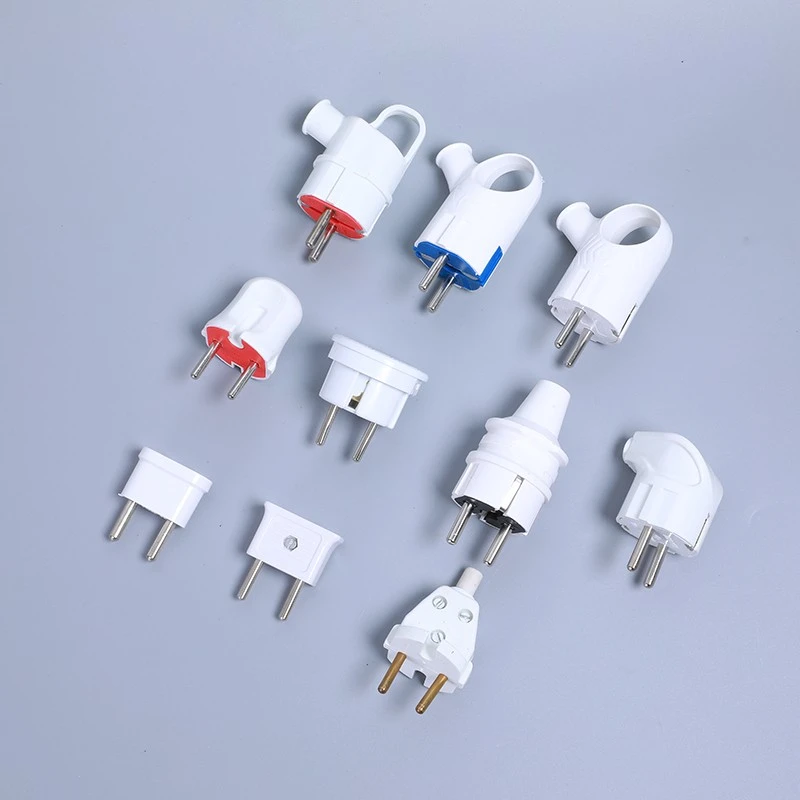
There are different variations of the L Type Monoblock Plug, each with its own specific features and applications. For example, you might be interested in the European Travel Power Plug Converter, which is ideal for travelers who need to use their devices in different countries. Or perhaps the European Style 2 Pin Electrical Power Plug suits your needs better, especially if you're dealing with European electrical systems. And if you're looking for a more robust option, the Earthed Male Plug L Type Handled provides an additional layer of safety with its earthed design.
Tools and Materials You'll Need
Before you start the installation, gather the following tools and materials:
- An L Type Monoblock Plug
- A screwdriver (usually a Phillips or flat - head, depending on the plug design)
- Wire strippers
- Electrical tape
- A pair of pliers (optional, but useful for bending wires)
Step - by - Step Installation Guide
Step 1: Safety First
Safety should always be your top priority when working with electricity. Before you begin the installation, make sure to turn off the power supply at the circuit breaker or fuse box. This will prevent any risk of electric shock during the installation process.
Step 2: Prepare the Wires
- First, use the wire strippers to remove about 1 - 1.5 inches of the outer insulation from the end of the electrical cable that you'll be connecting to the plug. You should now see the individual wires inside.
- Depending on the type of cable, you may have two or three wires: live (usually brown), neutral (usually blue), and earth (usually green - and - yellow). If your cable has an earth wire, it's important to connect it properly to ensure safety.
- Use the wire strippers to remove about 0.5 inches of insulation from the ends of each individual wire.
Step 3: Open the Plug
Most L Type Monoblock Plugs have a two - part design. Use the screwdriver to remove the screws that hold the two halves of the plug together. Carefully separate the two parts of the plug.
Step 4: Identify the Terminals
Inside the plug, you'll see several terminals. Usually, there are terminals for the live, neutral, and earth wires. The live terminal is often marked with an "L", the neutral terminal with an "N", and the earth terminal with a symbol representing earth.
Step 5: Connect the Wires
- Live Wire: Take the brown (live) wire and insert it into the live terminal (marked "L"). Use the screwdriver to tighten the screw on the terminal, making sure that the wire is firmly held in place.
- Neutral Wire: Connect the blue (neutral) wire to the neutral terminal (marked "N") in the same way. Tighten the screw to secure the wire.
- Earth Wire: If your cable has an earth wire (green - and - yellow), connect it to the earth terminal. The earth terminal is usually a larger terminal with a specific shape to accommodate the earth wire. Tighten the screw to ensure a good connection.
Step 6: Check the Connections
Once you've connected all the wires, give each wire a gentle tug to make sure that they are securely fastened to the terminals. If a wire comes loose, tighten the screw further.

Step 7: Reassemble the Plug
Place the two halves of the plug back together and use the screwdriver to insert and tighten the screws. Make sure that the plug is fully assembled and there are no gaps or loose parts.
Step 8: Inspect and Test
Before turning the power back on, visually inspect the plug to make sure that there are no exposed wires or loose connections. Once you're satisfied with the installation, turn the power back on at the circuit breaker or fuse box. Plug in an electrical device and test if it works properly. If the device doesn't work or if you notice any signs of overheating or sparking, turn off the power immediately and check your connections again.
Troubleshooting
- Device Not Working: If the device doesn't work after installation, first check if the power supply is on and if the device itself is functional. Then, check the connections inside the plug to make sure that all wires are properly connected.
- Sparking or Overheating: Sparking or overheating can be a sign of a loose connection or a short - circuit. Turn off the power immediately and inspect the plug. Tighten any loose connections or replace the plug if necessary.
Why Choose Our L Type Monoblock Plugs
As a supplier, we take pride in offering high - quality L Type Monoblock Plugs. Our plugs are made from durable materials that can withstand regular use and provide a long - lasting connection. We also ensure that our products meet all the necessary safety standards, so you can have peace of mind when using them.
Whether you're a professional electrician or a DIY enthusiast, our L Type Monoblock Plugs are designed to be easy to install and use. And with our wide range of products, including the European Travel Power Plug Converter, European Style 2 Pin Electrical Power Plug, and Earthed Male Plug L Type Handled, you're sure to find the right plug for your needs.
Contact Us for Purchasing
If you're interested in purchasing our L Type Monoblock Plugs or have any questions about our products, we'd love to hear from you. We're committed to providing excellent customer service and helping you find the best solutions for your electrical needs.
References
- Electrical Installation Handbook, various editions
- National Electrical Codes and Standards relevant to your region


